 Into this:
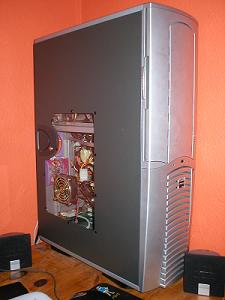
Vapochill case projectlog : Page1
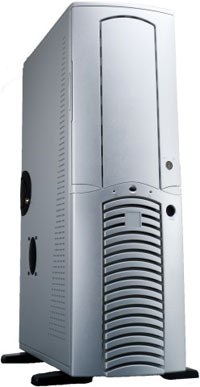
For this case project, first I took my standard Chieftec silver case, and did a bit of spraying.
Turning this:
Into this:
Both sides are now matt black.
I then started to hack away at the pc's innards!!
First of all, I had to make space for the vapochill unit to be fitted into the lower cd-rom bays. This meant that i had to change the position that the PSU connects into the case.
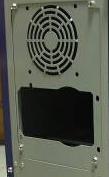
This picture shows the look of the original back-plate that the psu screws to
In order for the vapochill unit to fit, the psu must be at the top of the case. This means that the old back-plate must be changed or a new one made. I chose the later option just in case I need to revert back.
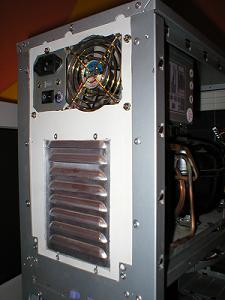
This picture shows the new back-plate that I created out of an old case side panel. The aluminium vent is there to allow the vapochill to draw cold air through the case.
Next was to get the vapochill system into the case. The old vapochill case was just too ugly for my liking. so after a few screws were taken out, the whole unit comes out on a tray like this.

The width of the unit base plate is exactly the same width as a standard cd-rom, so it was easy to just slide the unit straight into the drive bays. The unit was held in place by two of the drive runners that were provided with the case, as can be seen below.
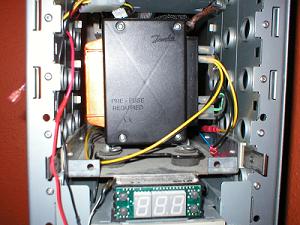
This picture shows the vapochill unit in the lower cd-rom bays, and being held in place by the two drive runners. You can now also see that i have fitted the chill controller for the unit.
Page 2 - the hardware