The aim of this workshop is to design your own flowers using a block-based programming language.
We have designed this workshop to provide challenges for all ages who wish to learn more about programming.
To help reach this goal we shall look at the mathematics and coding required to draw various different shapes, leading up to the knowledge needed to create petals.
You can do as many (or as few) of the exercises below as you need to reach the goal of flower design.
If you do get stuck on a section, have a look at the next - it might help you figure it out.
We have also included a number of extension activities in various sections to challenge more experienced programmers too.
For this workshop we shall use an in-browser based software called Turtle Blocks. This is free and does not require a download, installation or log-in.
Turtle Blocks is a software that uses basic coding blocks to drive a 'turtle' around the screen. Using a pen function, the turtle can draw its path to create shapes and patterns.
Here, we have provided a screenshot of the start-screen with a key.
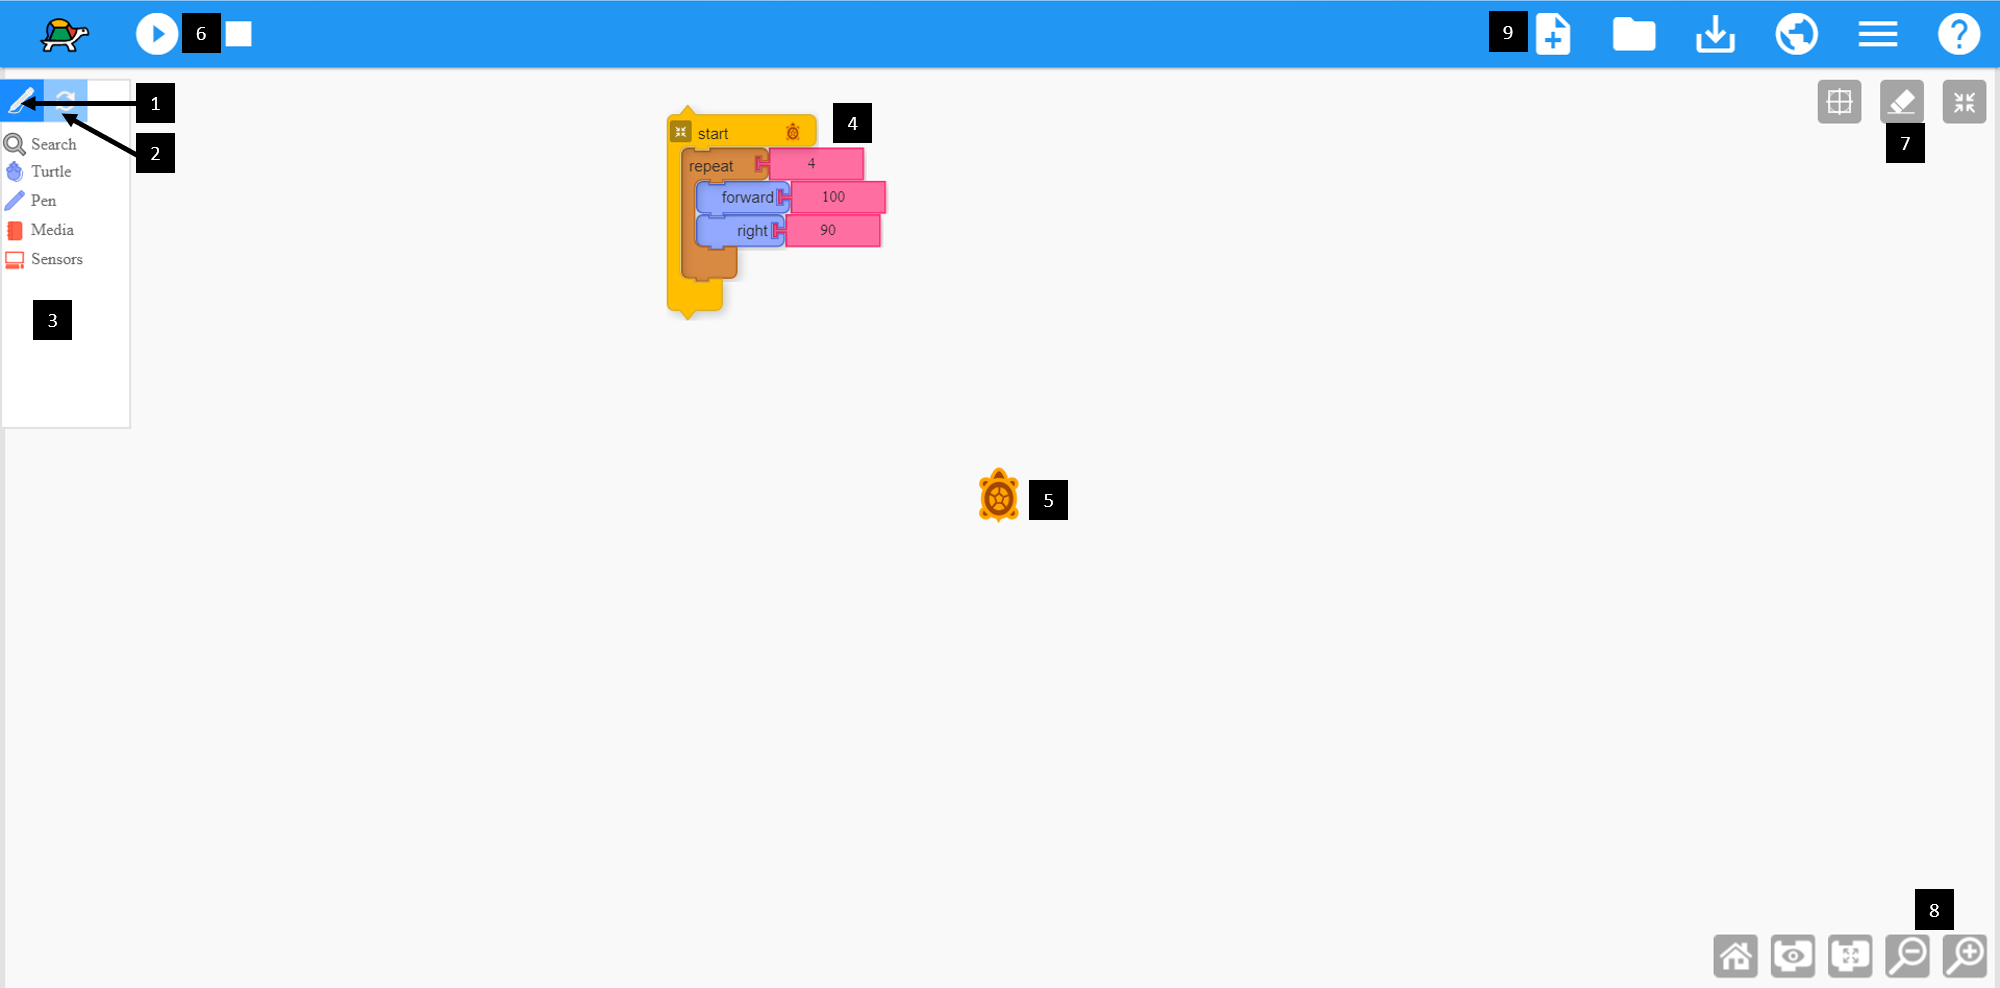
If you are unsure about an icon's usage or the purpose of any of the blocks you can hover the mouse over them to obtain more details
To draw something as complex as a flower using this program, we first need to look at how to draw different shapes.
What is a square? - A square is a shape with four equal length sides and four right-angled (90°) corners.
When you load up a new project on Turtle Blocks it comes with a small code block. Have a look at this and see if you can figure out what shape this will draw before pressing play.
Let us take a closer look at this program:
start - This block holds the programming that is triggered when we click on play.
repeat 4 - This line tells the program to repeat the prodram inside to repeat four times.
forward 100 - This instructs the turtle to move forward a distance of 100 units.
right 90 - This instructs the turtle to turn 90°s to the right.
So the complete program is telling the turtle to travel forward 100 units, turn 90° and repeat the action 3 more times - this makes a square.
1. Change the program to make the square different sizes
2. Change the program so as the turtle is starting in the bottom right corner of the square (rather than the bottom left as with the above example)
3. Add the necessary blocks to make the turtle draw both of the squares in challenges 1 and 2 in a single program
Try to recreate the below images:
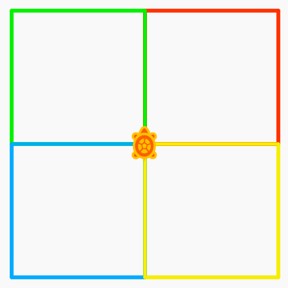
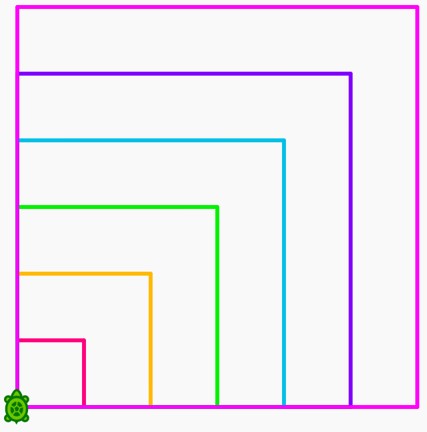
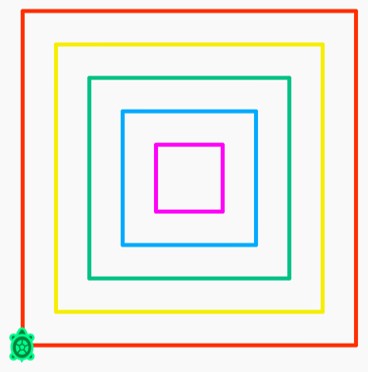
For at least one of these; you will need to use the 'pen up' block to allow movement without drawing, and the 'pen down' block to start drawing again.
For an extra challenge, try to recreate the colours too (these all used colour values that are factors of 10)
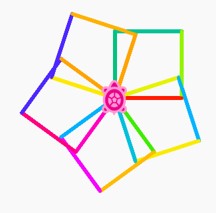
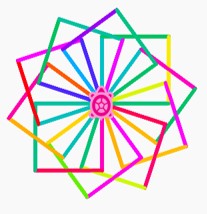
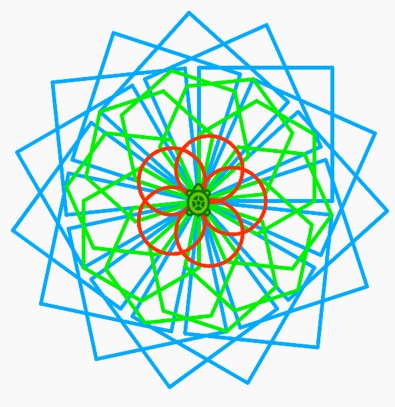
It is possible to produce patterns of squares in Turtle Blocks that form a flower-like appearance, as demonstrated below:
Squares are nice simple shapes to produce, but it is rather difficult to design flowers with them. Therefore, let's start building up our ability to make other shapes.
Let us now look at how we can change the program to draw regular pentagons instead. These shall have five equal length sides and five matching corners.
What is the angle needed for a pentagon? Let us share a method we can use to work out the angles that make up any shape.
To complete a shape the turtle must travel a total of 360°
This means that the angle needed to draw a regular pentagon is:
\[360 ÷ 5 = 72°\] which can also be written as \[{360 \over 5} = 72°\]
You will need to start a new project to return to the default square drawing program. Which numbers do we need to change to make it draw a pentagon?
1. Produce a pentagon half the size of the one produced in the above solution.
2. How would we change what we've done to make a hexagon (six sided shape) or an octagon (eight sided shape)?
Try to reproduce these pentagon designs:
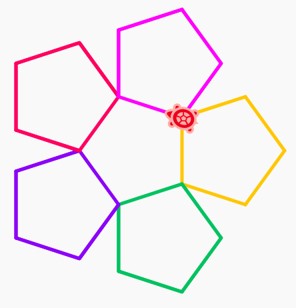
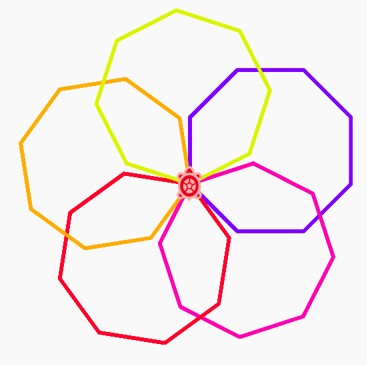
We have provided examples of both squares and pentagons drawn in a manner where they rotate on one corner to produce a flower-like design in the previous sections. This can be repeated with any shape:
How do we make these rotational patterns?
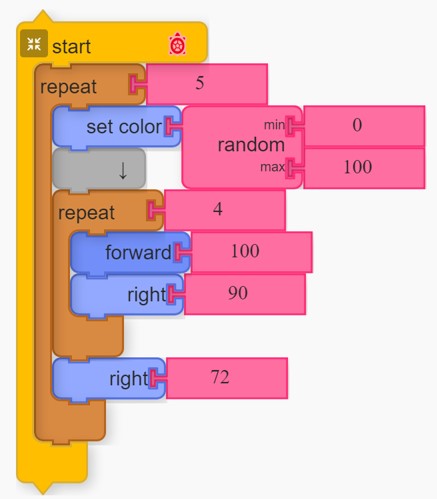
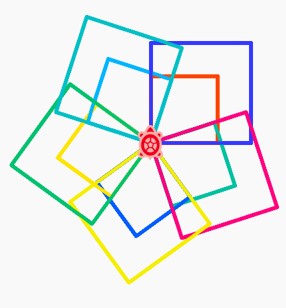
Let us show you. First, here is the program for making one with squares:
Can you identify the section of the above program that draws a square?
Which block instructs the program to create five squares?
Why is the value of the second turn right block set to 72?
When does the colour change during the pattern?
start - tells the program to run the included blocks on start
repeat5 - this instructs the program to repeat the included blocks 5 times. As this includes the instruction for drawing a square, this means 5 squares will be drawn
set colorrandom min 0 - this is telling the program to change the colour before drawing each square. In Turtle blocks, colours have a numerical value between 0 and 100. This sets the program to select a random value with a minimum of 0 for the colour.
↓random max 100 - the grey block acts as a spacer to make the code tidier, it has no effect on the program. The rest of the line is filled with the setting of 100 as a maximum vaue for the colour the random selector wil use.
repeat4 - this is the repeat block that draws a single sqare by repeating the code inside four times, once for each side.
forward100 - draws a straight line of length 100 units
right90 - turns the turtle 90° to the right (90° because of the rule that to complete a shape the turtle must travel 360° in total - there are four corners to a square and therefore each turn needs be 360 ÷ 4 = 90°)
right72 - this instruction tells the turtle to turn an extra 72° to the right after each square. This is because we are producing a complete rotation (360°) of a point whilst drawing five evenly spaced squares. 360° ÷ 5 squares = 72° between each one.
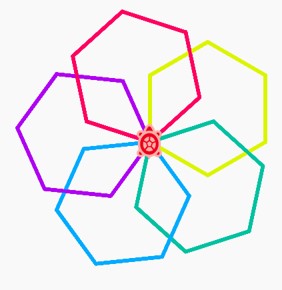
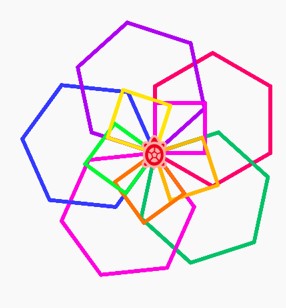
Using this code, make the necessary changes to recreate the same pattern with pentagons, heaxons and octagons.
Now, produce the same rotational pattern with 10 hexagons
Look for the division number block and use it to accurately produce five septagons (7-sided shapes) in this rotational pattern
Investigate creating variables for number of sides and number of shapes to make inputting changes easier
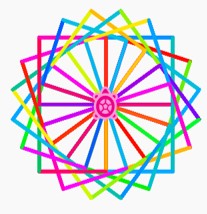
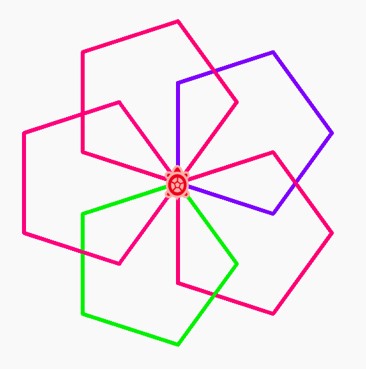
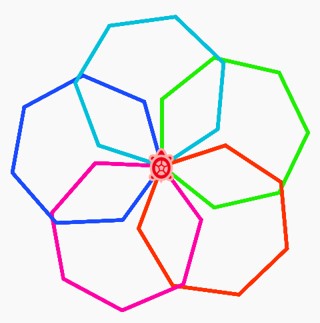
Try to recreate the below:
Now we have explored shapes with straight edges, let us look at creating cirlces.
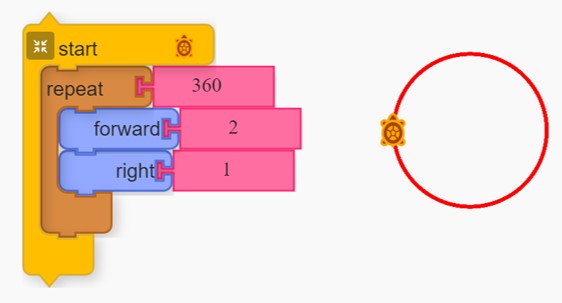
Using what we've learnt so far, make a regular 360-sided shape (known as a 360-gon or a triacosiahexecontagon) with each side 2 units in length?
What does it look like?
Why did we need to reduce the length of the sides?
Does the same optical illusion occur for a 300, 250 or 200 sided-shape? You may need to increase the length of the sides again to investigate
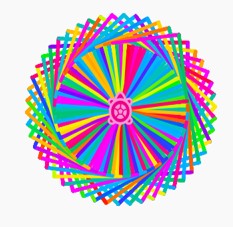
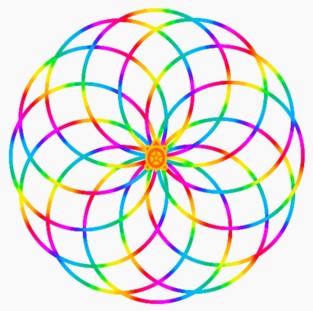
Produce this design in whichever colours you like:
Recreate the following design of twelve 360-gons:
Using variables and maths blocks, try to also recreate the colour scheme.
Turtle Blocks provides us with a simpler way to draw a circle using a single code block:
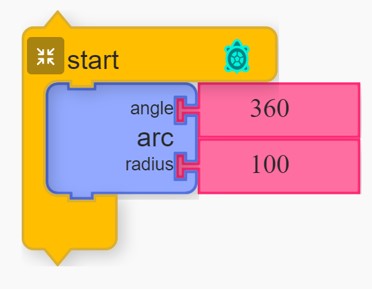
This program is telling the turtle to draw an arc that travels 360° around a circle with a radius of 100 units.
If we increase the radius, the circle we get is larger. If we decrease the angle, less of the circle's circumference is drawn.
Why do you think the program runs faster than drawing 360-gons?
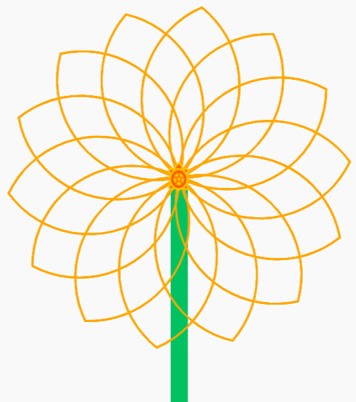
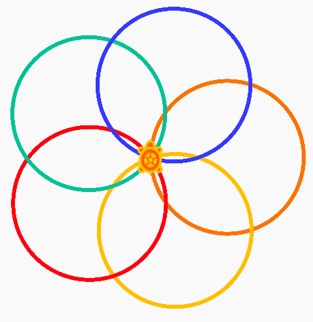
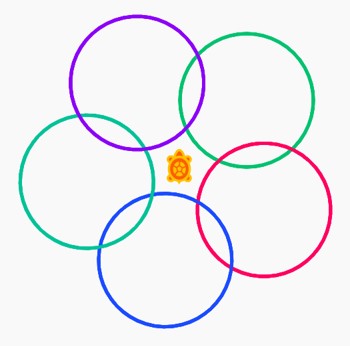
Recreate the below pattern (there are five red circles, ten green and fifteen blue):

Try to recreate the following:

The first of these is just an evolution on last exercise above, where the green circles have been replaced by hexagons, whilst the blue have been replaced with squares.
The second involves the use of 'pen up' and 'pen down' to change the starting point for each circle.
The third is a combination of shapes, movements and pen usage - all arcs used are either 360° or 180°.
The arc block we were using in Circles 2, can be used to draw curves of any type.
This allows us to form a petal shape using this basic program:
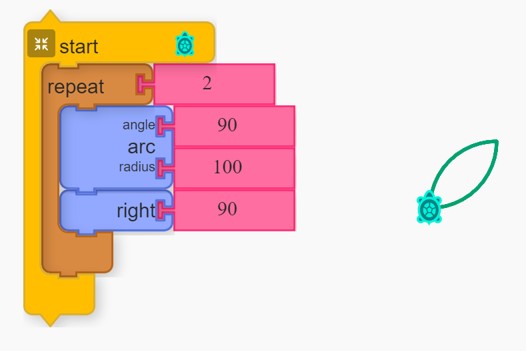
You can change either of the arc values to adjust the curve and size of the petal. However, whenever you change the angle you will also need to change the turn right command value. The turn right value is calculated using 180 − the arc angle
So, if you change the arc angle to 45°, the turn right value change to 180 − 45 = 135°.
Try drawing a petal shape with an arch angle of 67°.
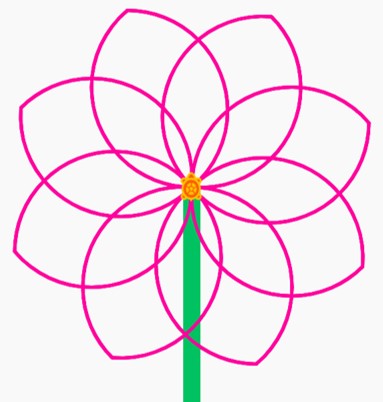
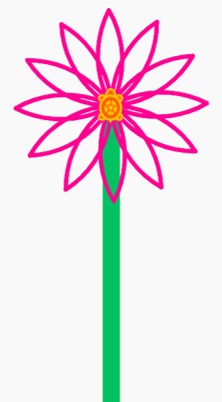
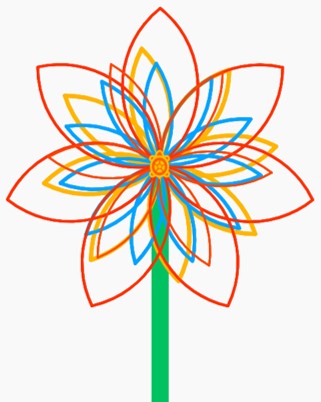
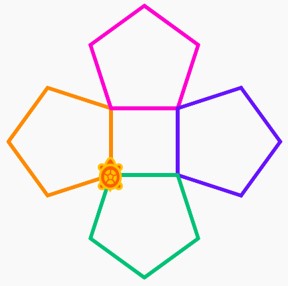
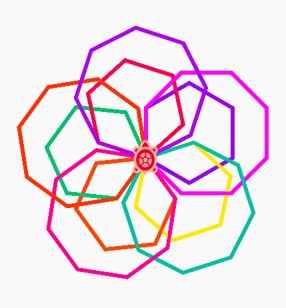
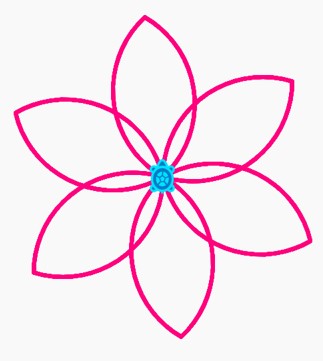
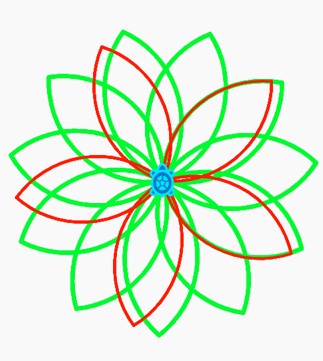
Create the below pattern with a petal shape of your choosing:
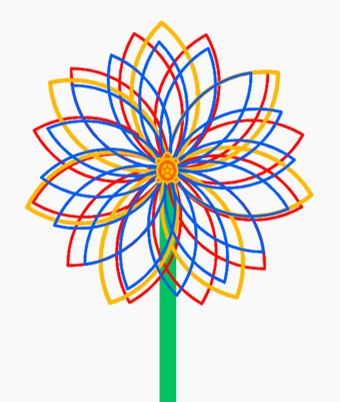
Practise layering petals as demonstrated here:
Using the 'store in' block, create a variable for the arc angle of your petal that will allow you to change this value and have the right turn angle correctly adjusted at the same time.
Can you make the petal shapes used vary randomly? For this you will need to consider the value ranges for the arc angle and the radius.
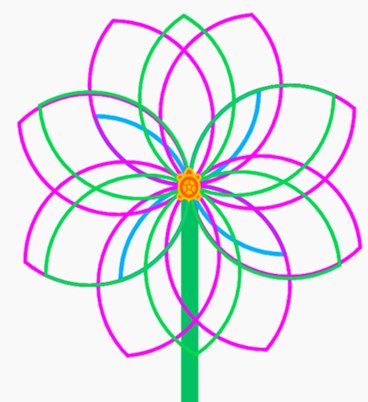
Try and see if you can create a flower generator that produces a random flower everytime.
We hope you have taken the opportunity in the above sections to explore the software to a point where you can combine all your knowledge to produce a variety of flowers.
Now it is your turn to experiment with what flowers you can produce and the method you prefer
Consider adding extra finishing touches such as stems, leaves or even putting multiple flowers in a bouquet.
We would really like to see your finished designs and share them here to help inspire others. Please send your Turtle Blocks file to nar25@aber.ac.uk